Week Four: STEAM Storytime: Rain
1August 27, 2015 by libraryheather

Program Title: STEAM Storytime: Rain
Target Age Range: Ages 3 – 6
Program Length: 60 minutes
Brief Description:
Half storytime, half lab in which we explore rain and the water cycle.
Supplies:
2-3 bags of cotton balls
2 bottles of Elmer’s glue
Blue construction paper (1 sheet per child)
2-4 Gray washable markers
12+ eyedroppers
Large, shallow plastic container
Water
Paper towels
Aluminum foil, cut into ~1” squares (1 piece per participant)
Wax paper, cut into ~1” squares (1 piece per participant)
Tissue paper, cut into ~1” squares (1 piece per participant)
Sponge, cut into ~1” squares (1 piece per participant)
Craft sticks, cut into ~3 pieces each (1 piece per participant)
Washcloth or microfiber cloth, cut into ~1” squares (1 piece per participant)
Snack-sized Ziploc bags (1 per participant)
Small container of dirt
Paper towel tubes (1 per participant)
Masking tape
1 Large bag of dry beans or rice
Long coils of aluminum foil
Washable markers and/or do-a-dot paints and/or stickers for rain stick decorations
Wax paper, cut into circles that will fit over the end of paper towel tubes (2 per participant)
Mason jar
Shaving cream
1 Bottle of food coloring
“Tap Tap Boom Boom” – Elizabeth Bluemle
If using a powerpoint: Computer, projector, and screen (no sound needed)
Cost: $ 0-50 (assuming that you have most of the materials on hand)
Advanced Preparation:
- Cut ~1” squares of foil, wax paper, tissue paper, washcloth/microfiber cloth, sponges, and craft sticks (1 of each per child). Separate into Ziploc baggies, 1 per participant.
- Create wax paper circles that will fit over the ends of paper towel tubes. Make 2 per participant.
- Create aluminum foil coils by folding a sheet of foil over itself multiple times until it forms a strip, and then wrap it around your finger to form a long coil. Make two per participant.
- If you don’t have them already, make umbrella flannels.
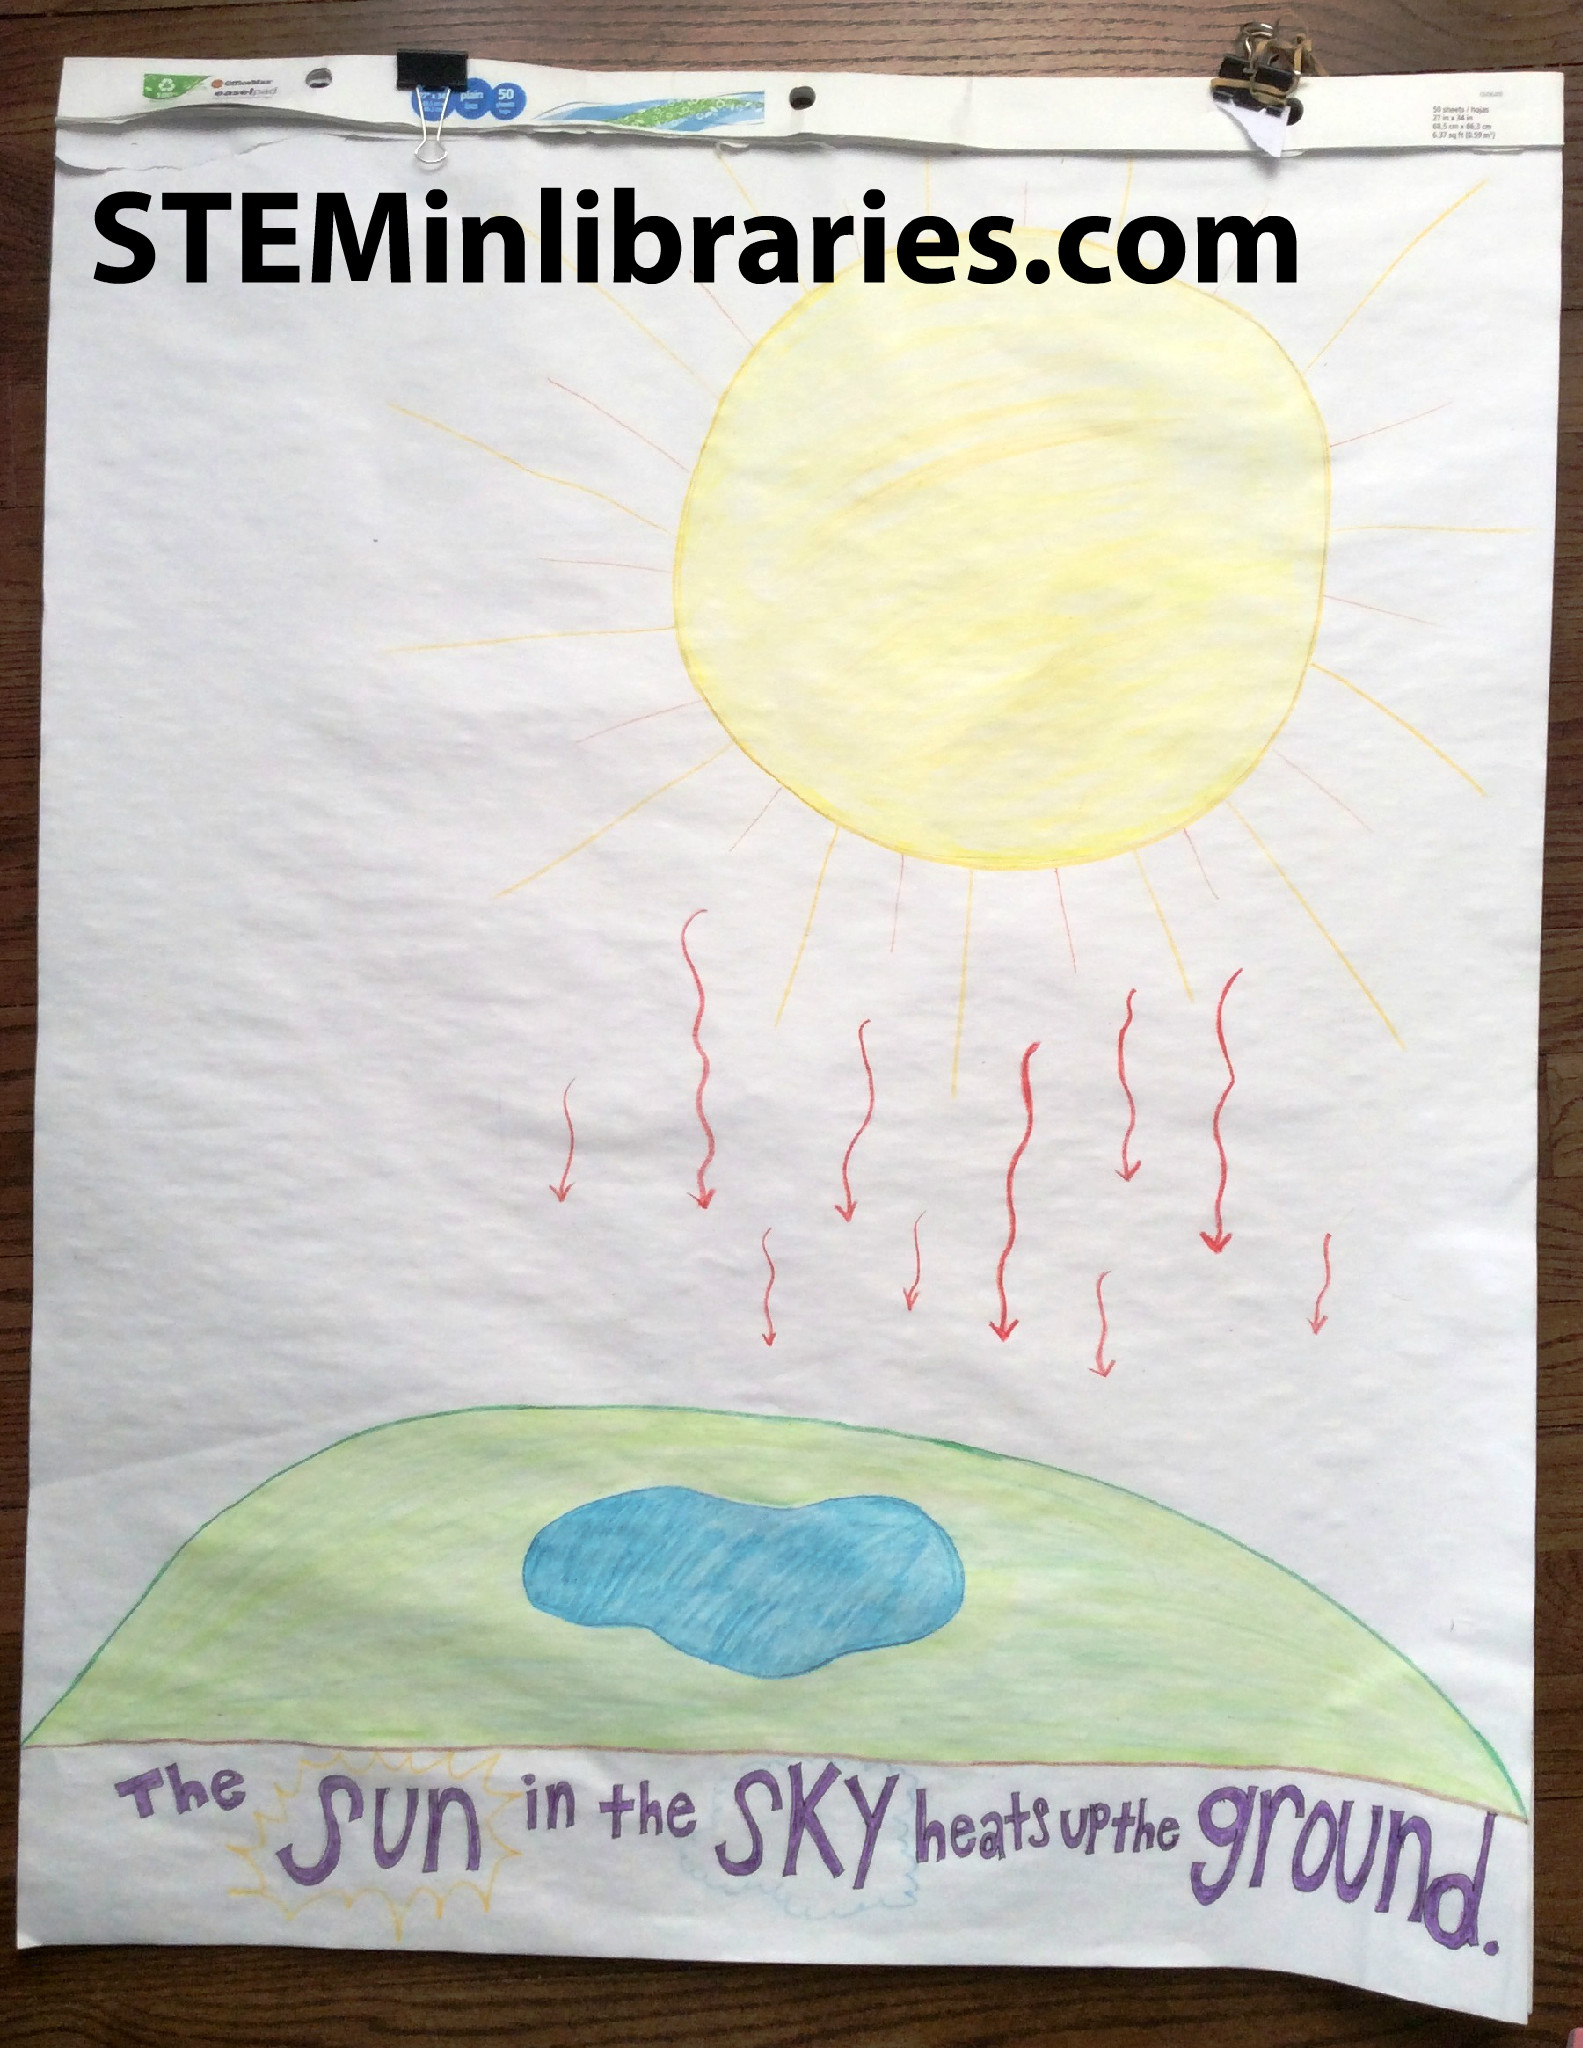
- Make some sort of visual aid for the Water Cycle Song. The song is a little complicated for young kids to understand, but having pictures that you can point to makes it much easier. We drew each verse of the song on large pads of paper in advance and flipped through each drawing as we sang.
- Make a cloud craft example.
- Create a handout or Powerpoint with all of the rhymes and songs on it, so that parents can sing along.
- Create easy, instructional signs for each lab station (we have downloadable examples below).
- Set out materials at each lab station.
Program Outline:
1. Welcome and introductions.
2. Song: “The More That We Learn Science” (tune: The More We Get Together)
The more that we learn science,
Learn science, learn science,
The more that we learn science,
The happier we’ll be.
We’ll know things, and do things,
And explore many new things,
The more that we learn science,
The happier we’ll be.
3. Brainstorm: Where do we find water? Where does water come from?
4. Song: The Water Cycle Song paired with illustrations or flannels.
5. Book: “Cloudette” – Tom Lichtenheld
6. Demo: Rain Cloud in a Jar
7. Action Rhyme: The Rain is Falling Down (tune: The Farmer in the Dell)
The rain is falling down (flutter fingers down)
SPLASH! (clap once loudly)
The rain is falling down (flutter fingers down)
SPLASH! (clap once loudly)
Pitter patter pitter patter (tap legs softly)
The rain is falling down (flutter fingers down)
SPLASH! (clap once loudly)
The hail is coming down (wave fingers down)
PING! (snap your fingers)
The hail is coming down (wave fingers down)
PING! (snap your fingers)
Ding, ping, ding, ping (tap legs quickly)
The hail is coming down (wave fingers down)
PING! (snap your fingers)
The snow is floating down (flutter fingers down)
SHHH! (finger to lips)
The snow is floating down (flutter fingers down)
SHHH! (finger to lips)
Floating, floating, down, down, down (flutter fingers down)
The snow is floating down (flutter fingers down)
SHHH! (finger to lips)
8. Book: “Tap Tap Boom Boom” – Elizabeth Bluemle
9. Flannel: Five Umbrellas
Five umbrellas stood by the back door,
The red one went outside, then there were four.
Four umbrellas stood pretty as can be,
The blue one went outside, then there were three.
Three umbrellas stood with nothing to do,
The green one went outside, then there were two.
Two umbrellas stood watching for the sun,
The yellow one went outside, then there was one. Just one umbrella stood alone in the hall,
The white one went outside, and then that was all!
10. Lab Time (approximately 30 minutes, details in Special Instructions and Procedures below)
Absorb or Repel?
Make a Rain Stick (see below)
Special Instructions and Procedures:
- In addition to the drawings we did for the Water Cycle Song, we also briefly explained the difficult words in each verse before we sang them. We said that “evaporates” means “dries up,” “condenses” kind of means “squeeeeezes together and turns into water,” and “precipitate” means “to rain, or snow, or hail, or sleet down onto the earth.” We did this along with the hand motions in the song to prepare them for that verse, and also had them repeat the difficult word back to us.

- Cloud in a Jar was a great demo to do after the Water Cycle Song and Reading Cloudette. We asked them what would happen if we put the food coloring on top of the “cloud,” and asked them to tell us what they were seeing when it started coming through the “cloud” into the “air” (water). They were fascinated! We used a bottle of food coloring instead of liquid watercolors, which worked very well.
- For lab time, we set up 4 “stations” around the room:
- Absorb or Repel Station: Using inspiration from Not Just Cute and PreKinders, we cut up materials like dish sponges, microfiber cloth, aluminum foil, tissue paper, craft sticks, and wax paper and separated them into a baggie for each child. We also had a small pot of dirt available that they could drop water into to see if dirt absorbs or repels water. Children used eyedroppers to pull water from a container of water on the table. Parents did awesome at this station, using the words “absorb” and “repel” from our instructional sign to have their children make predictions and observations. Be sure to have paper towels at the ready—water will get everywhere!

- Cloud Craft: Cultivate Wonder and Making Model Students were just two of many blogs we saw that used this fun, simple craft. We only did a cumulus cloud for our example. We had gray markers on hand so they could make them look like rain clouds (which, to our understanding, may actually be cumulonimbus clouds, but we decided to keep it simple).

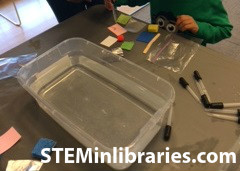
- Make It Rain!: This excellent idea came from Kendra at Read Sing Play. It couldn’t be easier to do, and there’s nothing that kids don’t love about playing with water.
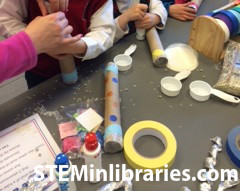
- Make a Rain Stick: You can find example rain stick crafts all over the internet, but this is our coworker Mary’s method that worked well for this group:
- Cover one end of a paper towel tube with a wax paper circle. Carefully tape the edges down onto the tube.
- Put two long, foil coils into the tube. You *can* have kids make these, but for the sake of time, it’s easier to have them formed in advance.
- Take a handful of dried beans or rice and put them into the tube.
- Cover the other end of the tube with a wax paper circle and tape down the edges.
- Decorate the outside of the tube with markers and/or do-a-dot paints and/or stickers.

- Absorb or Repel Station: Using inspiration from Not Just Cute and PreKinders, we cut up materials like dish sponges, microfiber cloth, aluminum foil, tissue paper, craft sticks, and wax paper and separated them into a baggie for each child. We also had a small pot of dirt available that they could drop water into to see if dirt absorbs or repels water. Children used eyedroppers to pull water from a container of water on the table. Parents did awesome at this station, using the words “absorb” and “repel” from our instructional sign to have their children make predictions and observations. Be sure to have paper towels at the ready—water will get everywhere!

Handouts: None, because we did a Powerpoint presentation for adults to follow along with the lyrics. If you do not do a powerpoint, we would suggest making a handout with the lyrics that the parents can also take home to use later.
Lab Time Instructional Signs:
Absorption Station Sign
Cumulus Cloud Craft Station Sign
Resources Used:
Rain Cloud in a Jar by Mamaslittlemuse.blogspot.com
Explore! Preschool STEAM: Pitter Patter by Read Sing Play: Adventures in Early Literacy
Absorption Experiment by Prekinders.com
Rainy Day Book Activities by Notjustcute.com
Celebrate April Showers with a Rain Stick Craft by Woojr.com
Rain Songs and Poems for Children by Naturallyeducational.comn/
Rainy Days by Storytimekatie.com
Rain Toddler Storytime by Jeninthelibrary.com
http://wiki.kcls.org/tellmeastory/index.php/Rain_is_falling_down
Rain by Raina Olivas, Tomball on Hcpl.net
Make a Splash: Water Science for Preschoolers by Amy Koester on the ALSC blog
C is for Cloud by Cultivatewonder.wordpress.com
Clouds by Makingmodelstudents.blogspot.com
What we would do differently:
We would’ve used two tables for the rain stick craft. Because it’s a fun craft that takes a little while for parents and children to do together, everyone kind of congregated around the table at once, and it got a little too crowded. Two tables would’ve alleviated that!
Adaptation for older/younger audience:
No recommendations for older. Children younger than 3 would likely be able to handle a less scientific explanation of rain, and would certainly enjoy making the cotton balls “rain.” That said, an even younger storytime would likely require you to make substantially different plans.

Lovely blog you havve here