Week Thirty-Seven: Bubble-Mania
Leave a commentOctober 17, 2015 by WittyLibrarian
Program Title: Bubble-Mania
Target Age Range: Tweens, Grades 4-6
Program Length: 60 Minutes
Brief Description: Explore the world of Bubbles, and make bubbles in a variety of shapes, sizes, and color!
Supplies:
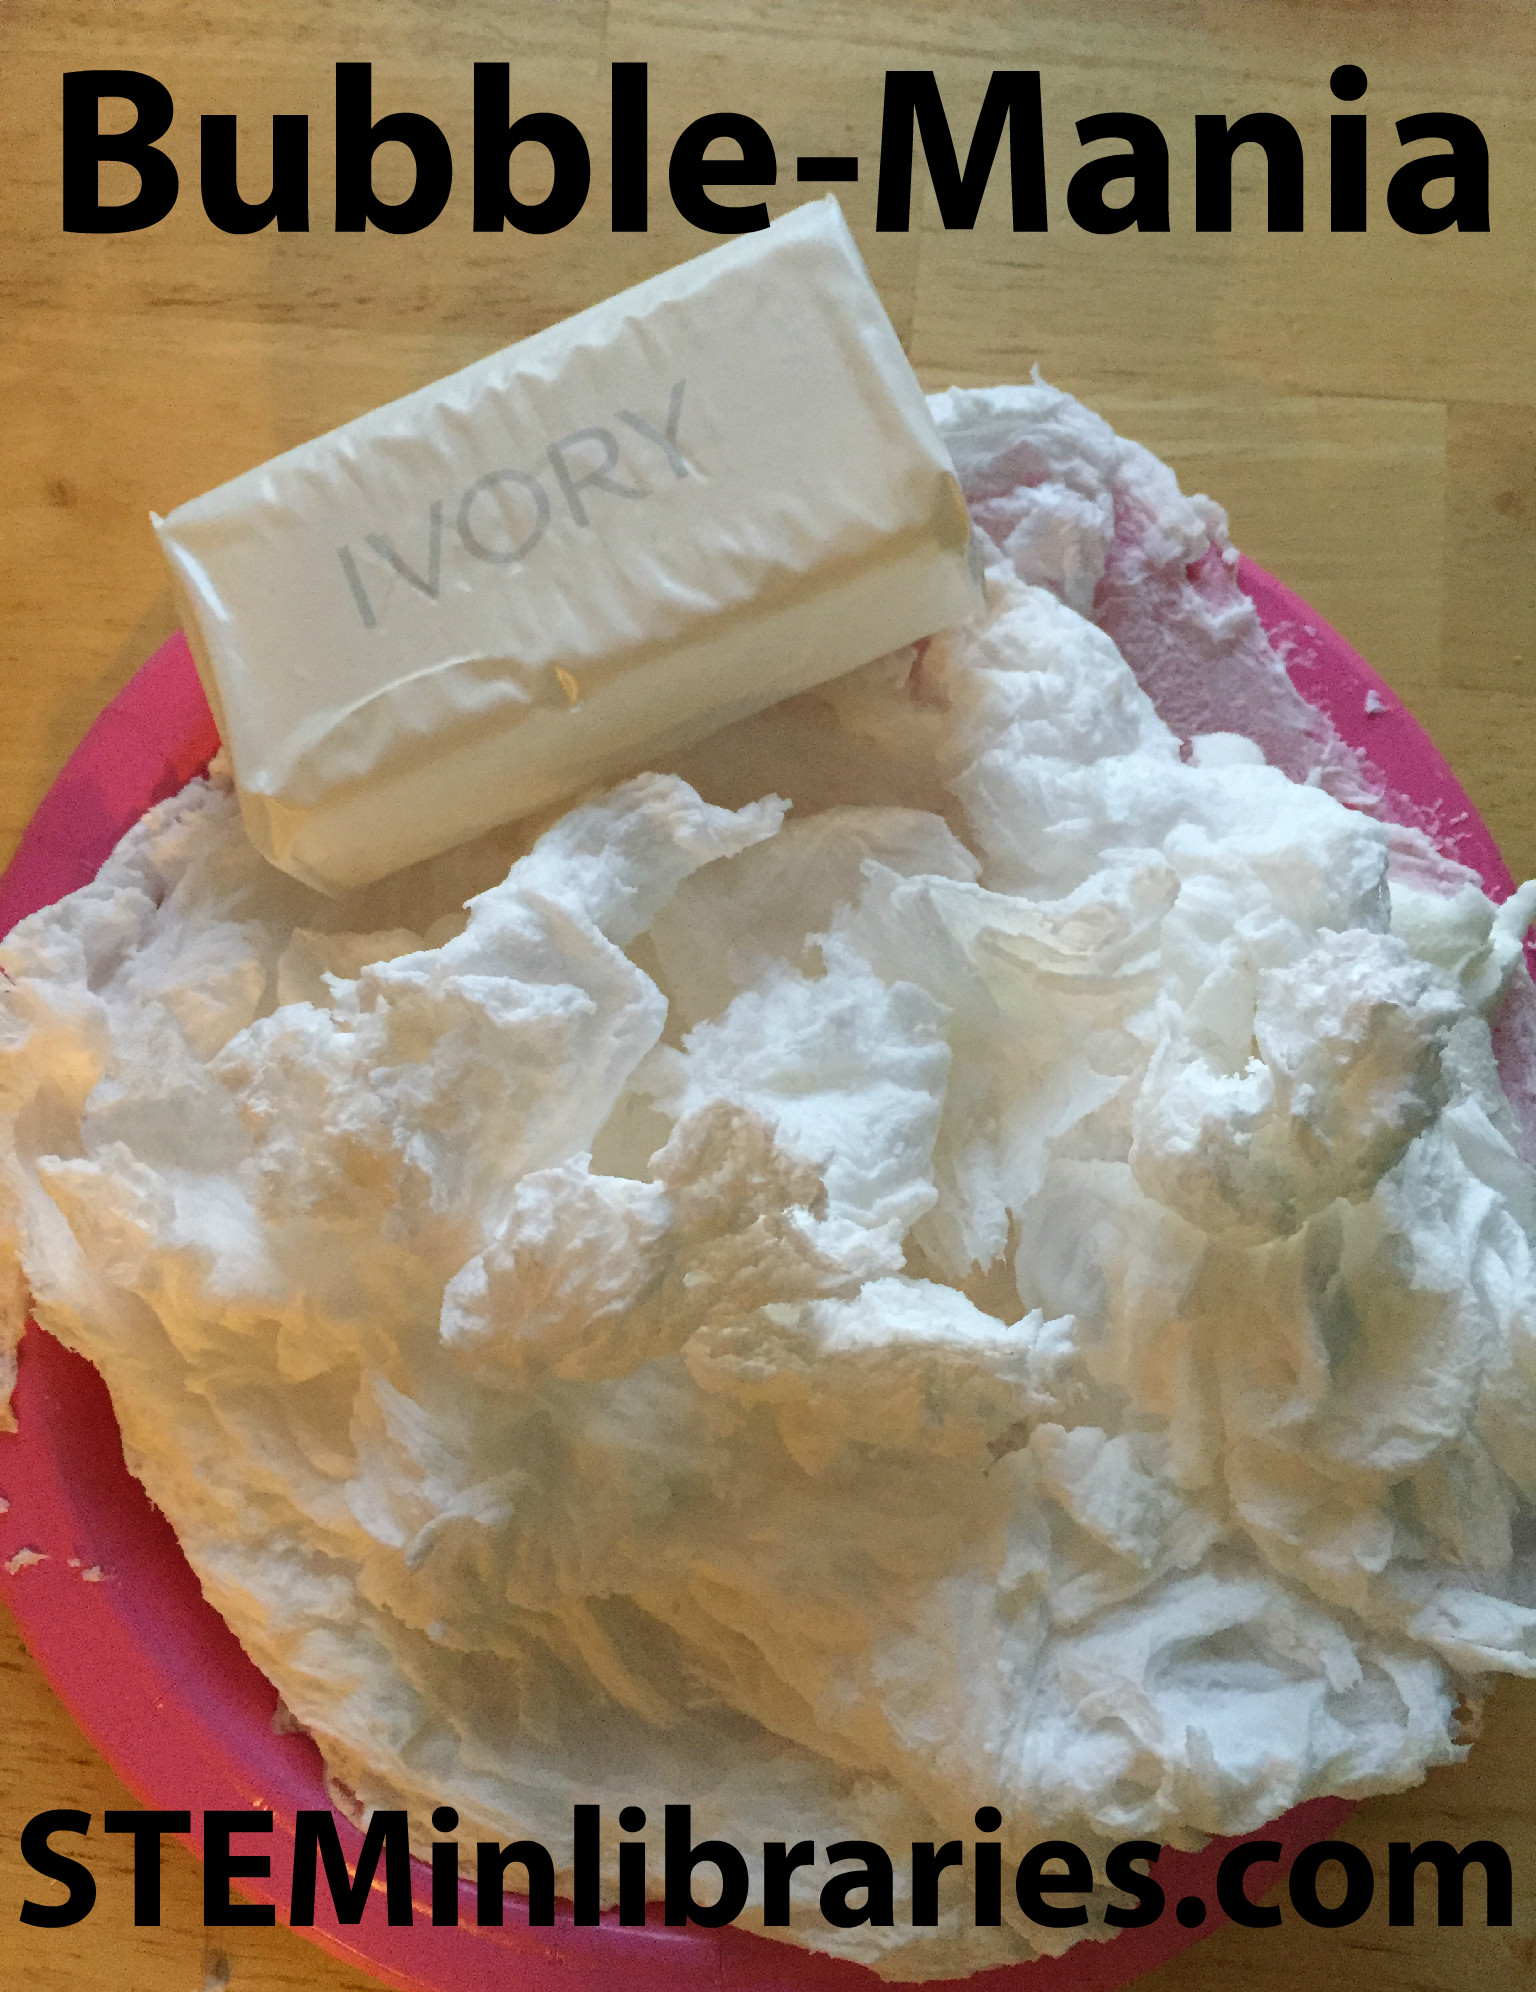
Bars of Ivory Soap
Microwave
Disposable pie plates
Tempra paint
Blank paper
Straws
Empty water bottles (12 oz or bigger)
Rubber bands
Microfiber cloth
Kiddies Pool
Hula Hoop covered in yarn
Small stool
Tape
Pipe cleaners
Miscellaneous objects that might make good bubbles
Dish soap and water to make own bubble solution
Containers to hold bubble solution
Cost: $ 0-50
Advanced Preparation:
Make a bubble solution mixed with tempra paint for the Bubble Painting station.
Make up bubble solution, a mixture of dish soap and water.
Program Outline:
- Greet Participants and provide explanation of bubble projects, and the science of bubbles. The Science Behind Bubbles by Robin Koontz on Kidsdiscover.com is a good reference.
- Demonstrate Ivory Soap experiment
- Divide participants into four groups and rotate groups around the following stations
- Bubble Painting
- Bubble Snakes
- Stand inside a giant bubbles
- Bubble Wand creation
Procedure:
Ivory Soap Experiment
For this experiment, simply place a bar of Ivory soap on a paper plate, and microwave it in short increments of time. We started with a minute, and added time accordingly. We had the kids sit in front of the microwave and they were riveted to the sight of the Ivory Soap rapidly expanding into bubbles. We performed the experiment 3 times in a row, because it was so popular. On the last experiment, we kept microwaving the bar in minute intervals to see how big it would expand. Additionally, when the soap bubbles cooled, the kids delighted in touching the bubbles and feeling how they felt. Ivory Soap Trick – Making Foam in the Microwave, Fun with Foam by Anne Marie Helmenstine, Ph.D. on Chemistry.about.com provides a good explanation of how this experiment works.
This was a messy experiment, so we would advise placing either paper or tarp on the table you are using while conducting this project.
In a previous post, we mentioned having trouble with the Bubble Snakes, but in a smaller setting like this was, there were no issues of note.
Stand inside a giant bubble
We filled a kiddie pool with a shallow amount of bubble solution, and provided a yarn-wrapped hula hoop for the kids to attempt to lift a balloon over themselves with. Kids were very intent on making this experiment work, and tried various methods to get the bubble to cover each other. When one method wouldn’t work, they would try another. Giant Bubble Experiment on Stevespanglerscience.com has some good tips and tricks for trying this.
Bubble Wand creation
We had various materials on hand for kids to create their own wands. Pipe cleaners, rubber bands, straws, string paperclips were all options that kids could try to work with. We were inspired by this source.
Resources Used:
3 Easy Summer Crafts for Toddlers by Olfa Turki Ourfamilyworld.com
Giant Bubble Experiment on Stevespanglerscience.com
Bubble Snake Maker by Cometogetherkids.com
Bubble Art and Lots of Smiles by Makingmemorieswithyourkids.com
The Science Behind Bubbles by Robin Koontz on Kidsdiscover.com
What we would do differently:
This was a fun and simple program to run, and all the activities were well-received. If anything, we might offer a few additional bubble demonstrations. Also, we originally held this program indoors, but it would be wiser to hold it outdoors, if at all possible.
Adaptation for older/younger audience:
All activities in the program would work well for a younger audience, going as young as Kindergarten, provided you eliminate the bubble snakes (as a lesson learned from another program!). It is our belief that the bubble snakes are just a bit too hard for K-3 to handle. We do not believe that this program would be a satisfactory teen program. Some activities could be combined with other experiments, but alone, the projects are simply too young.
