Week Thirty-Nine: Beam & Suspension Bridges
4October 18, 2015 by libraryheather
Program Title: Beam & Suspension Bridges
Target Age Range: Grades 4-6
Program Length: 90 minutes
Brief Description:
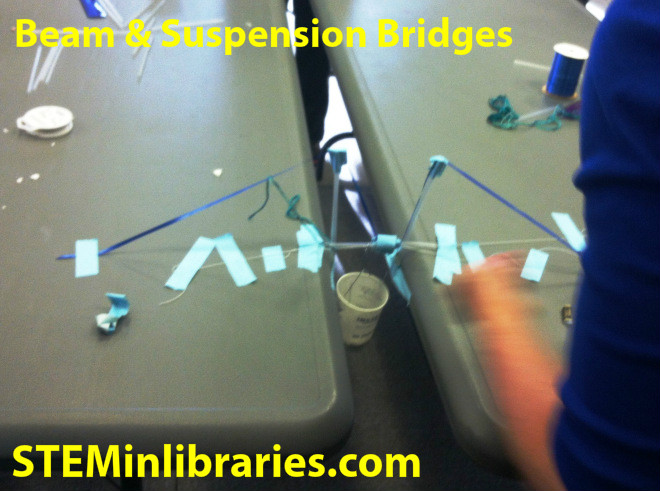
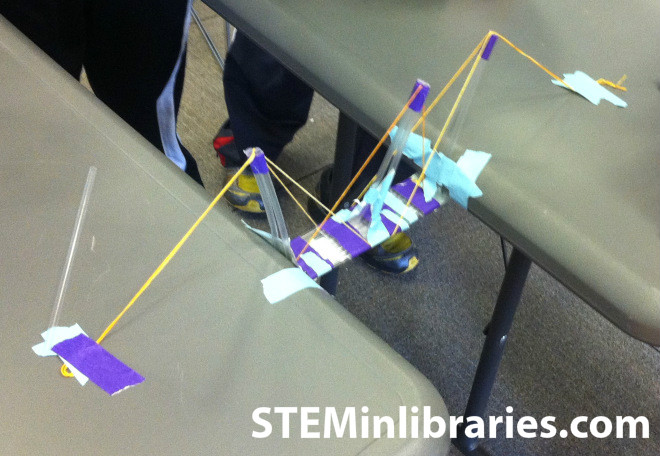
Learn the difference between beam and suspension bridges, then build and test your own for strength in small groups.
Supplies:
Plastic straws
String
Masking tape (1 roll per team)
Paperclips
1 strong-walled paper cup, large enough to fit all of the weights
Scissors (preferably 1 per participant, but can be 1 pair per team)
Ruler (1 per team)
Pennies or Quarters (as many as possible! we had 120 quarters, but could’ve had more)
Laptop connected to a projector with sound
Cost: $ 0-50
Advanced Preparation:
-Make the paper cup weight holder, as shown on Science Buddies.
Program Outline:
1. Settling in, welcome, introductions: 5 minutes
2. Explain the forces acting on bridges: 5 minutes
3. Show different types of bridges, walk through this activity as a group: 5 minutes
4. Talk about structural failures and show this video: 10 minutes
5. Explain the project, divide participants into teams of 2-4, build beam bridge designs: ~20 minutes
6. Test beam bridge designs: ~15 minutes
7. Make new or modify designs to be suspension bridges: ~15 minutes
8. Test suspension bridge designs: ~15 minutes
Special Instructions and Procedures:
Science Discussion:
Our favorite source on the forces at work in bridges was this page on Tension and Compression on How Stuff Works. PBS’s Building Big also has an excellent interactive graphic that you can use to demonstrate these forces.
To show different types of bridges, we used pages 3 and 4 of NOVA’s Build a Bridge website. We showed them the different types of bridges on page 3, pointing out their differences, strengths, and weaknesses. Then, we walked through the activity on page 4 as a group. Other nice sources of bridge types include PGHbridges.com, How Stuff Works, and PBS Building Big’s Bridge Basics.
How Stuff Works’ “10 Reasons Why Bridges Collapse” is a good resource for talking about structural failure in bridges. After you talk about this briefly, show this (truly shocking and scary!) video: Mysteries at the Museum: Tacoma Narrows Bridge.
Project:
We used this Beam & Suspension Bridge project from Science Buddies. For excellent instructions, please visit their linked website.
Teams were allowed to use an unlimited number of straws for their designs. We gave tips on how to attach materials to each other as well as the tables, making sure that they knew how we would be testing the bridges for strength. We anchored the bridges between two tables (which is a bit of a problem, as the tables were easily moved).
If it’s looking like your group won’t have enough time to finish two build & test periods (or if you don’t want to do two rounds), you could simply give them 45 minutes of building time to make a beam or suspension bridge, followed by 20 minutes of testing time.
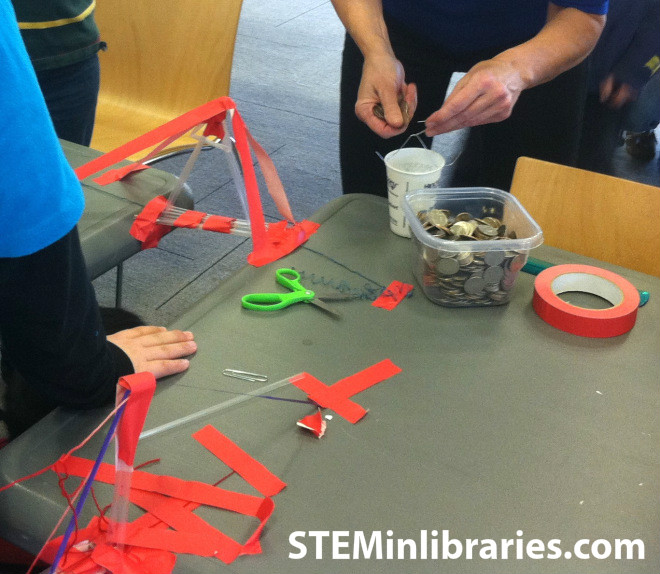
Be sure to allow sufficient time for testing. Our kids really enjoyed the suspense of counting out each quarter as it was dropped into the cup–every single time!
Resources Used:
Science Buddies: Keeping You in Suspens(ion)
PBS.org: Building Big: Suspension Bridge Activity
YouTube: Mysteries at the Museum: Tacoma Narrows Bridge
PBS Learning Media: Triangles: Designing a Straw Bridge
How Stuff Works: How Bridges Work
10 Reasons Why Bridges Collapse
Additional Resources:
TeachEngineering.org: Straw Bridges
WikiHow.com: How to Build a Straw Bridge
Exploratorium.edu: Structures Around the World
PrimaryScience.ie: Design a Bridge
Kids Activities Blog: Build a Bridge
ALSC Blog: Bridge Science: or, Engineering in the Library
Stay at Home Educator: Four Bridges to Build and Test With Preschoolers
WikiHow: How to Build a Spaghetti Bridge
What we would do differently:
Using something slippery and thin like string was tricky for 4th-6th graders. We wanted to use yarn, but were worried that it might have too much give. In the future, we will experiment with yarn in advance of the program to see if it’s a better alternative.
Adaptation for older/younger audience:
For younger children, we really like the idea of simple paper bridges, as found on Stay at Home Educator, Kids Activities Blog, ACS.org, and PrimaryScience.ie. We also thought that the ideas on this ALSC Blog post would be great for younger school aged children. For older children, there really are no limits to what you could do given a longer time limit…more complicated straw bridge designs, newspaper bridges, even Spaghetti Bridges!

[…] Suspension bridge: We demo’ed a suspension bridge, built with a cardboard deck, string, and paper clips. If you’re working with 10 – 12 year olds, try this suspension bridge project. […]
Your Video (Structural Failure) is saved as Private…cannot watch…
[…] Quote from the source: … […]
[…] Learn More: STEM In Libraries […]